Your Guide to Installing an EV Charger at Home
Learn the step-by-step process of installing an EV charger at home. Empower your electric vehicle with a hassle-free charging solution.

There's a growing trend among luxury car enthusiasts – EV charger installation at home. This self-reliance adds convenience and ease to owning and maintaining an electric vehicle (EV). This guide offers you clear, actionable steps to experience the freedom and flexibility of charging your EV at your own time and pace. For a more sustainable and autonomous automotive future, let's delve in.
Demystifying Home EV Charger Installation
As we advance into the era of EVs, understanding the intricacies of related infrastructure is paramount. Home EV charger installation is one such facet that is getting significant attention, and rightly so. This process, though perceived as formidable by some, is actually straightforward when handled methodically. This guide aims to decode it for you.
Table of Contents
- Understanding EV Charging
- Choosing the Right Charger: Level 1 vs. Level 2
- Pre-installation Preparations
- The Installation Process
- Post-installation Checks
- Maintaining Your EV Charger
Understanding EV Charging

Before you dive into the installation process, you must first have a solid understanding of electric vehicle charging. Notably, charging an EV isn't just about plugging it into an electrical outlet. It’s about finding an optimal configuration that suits your car's specifications and your lifestyle needs.
EV Charging Basics:
- Kilowatts (kW): This is the speed at which a charger can transfer energy to your vehicle. The higher the kilowatts, the quicker the charging.
- Charging Levels: EV chargers are categorized into three levels – level 1, level 2, and level 3. Each offers differing charging speeds and requires unique setups.
- Compatibility: Not all chargers are compatible with all EVs. You ought to ensure that your chosen charger is compatible with your vehicle model before proceeding with installation.
Unifying Power and Practicality
Driving an electric vehicle is about more than just reducing your carbon footprint. It's about embracing a more connected, technologically forward mode of transport. Comprehending the science behind EV charging allows you to make informed choices, balancing power requirements with practicality, and enhancing your overall EV experience.
Choosing the Right Charger: Level 1 vs. Level 2
Once you’re comfortable with the mechanics of EV charging, the next step is to choose the right charger for your home setup. Primarily, this comes down to deciding between a Level 1 and Level 2 charger.
Level 1 Charger: The Level 1 charger, also known as the "trickle charger," comes standard with most EVs. It's the simple, no-frills option that plugs into your standard household power outlet. However, it's not the quickest option. It may work well for low-mileage drivers or as a backup option.
Level 2 Charger: On the flip side, a Level 2 charger is the recommended choice for most at-home setups. Connected to a 240V power source, these chargers can recharge most EVs from zero to full in approximately 4 to 6 hours. They are faster and have more capability than Level 1 chargers, but require professional installation because of their infrastructure needs.
The Bottom Line
When choosing your charger, consider your vehicle's energy demands, your driving habits, and your available electrical infrastructure. If you regularly travel long distances, a Level 2 charger might be optimal for you. Conversely, if you only embark on short commutes, sticking to a Level 1 charger may suffice. It’s all about finding what works best for your unique situation.
Pre-installation Preparations

Once you've chosen your ideal EV charger, it's time for some pre-installation groundwork. These steps ensure a smooth and safe installation:
- Assess Your Garage: The layout and electrical capacity of your garage or charging space will impact the installation process. You need clear access to your breaker box and an optimal location for your charger to ensure easy reach to your vehicle's charge port.
- Understand your Electrical Panel's Capacity: Your panel needs the capability to handle the extra load of an EV charger. An electrician can assist you in evaluating your panel's capacity and upgrading it if necessary.
Remember, knowing the ins and outs of your space is critical for a straightforward installation process. So, take the time to chalk out a plan before diving into the actual setup.
The Installation Process
The installation phase is where your planning morphs into action. It’s advised to hire a professional electrician to ensure safety and correctness. Here's a step-by-step breakdown:
- Installing a New Circuit: Most EV charger installations need a dedicated circuit from your electrical panel. Your electrician can install this for you.
- Mounting the Charger: The next step is mounting the charging unit on a wall, usually close to where your EV’s charging port is. Be sure to follow the manufacturer's instructions here, specifically those concerning height and accessibility.
- Fulfilling Electrical Requirements: Depending on whether you’re installing a Level 1 or Level 2 charger, you’ll need a 120-volt or 240-volt outlet, respectively. Your electrician will ensure this setup.
A Word of Caution:
It's important to remember that this is a high-voltage installation. Getting it wrong can be dangerous. Always employ a professional and follow your manufacturer's instructions to the letter.
Post-installation Checks
Now that your charger is installed, you're almost there! The final hurdle is ensuring everything functions as intended. Thus, post-installation checks are necessary.
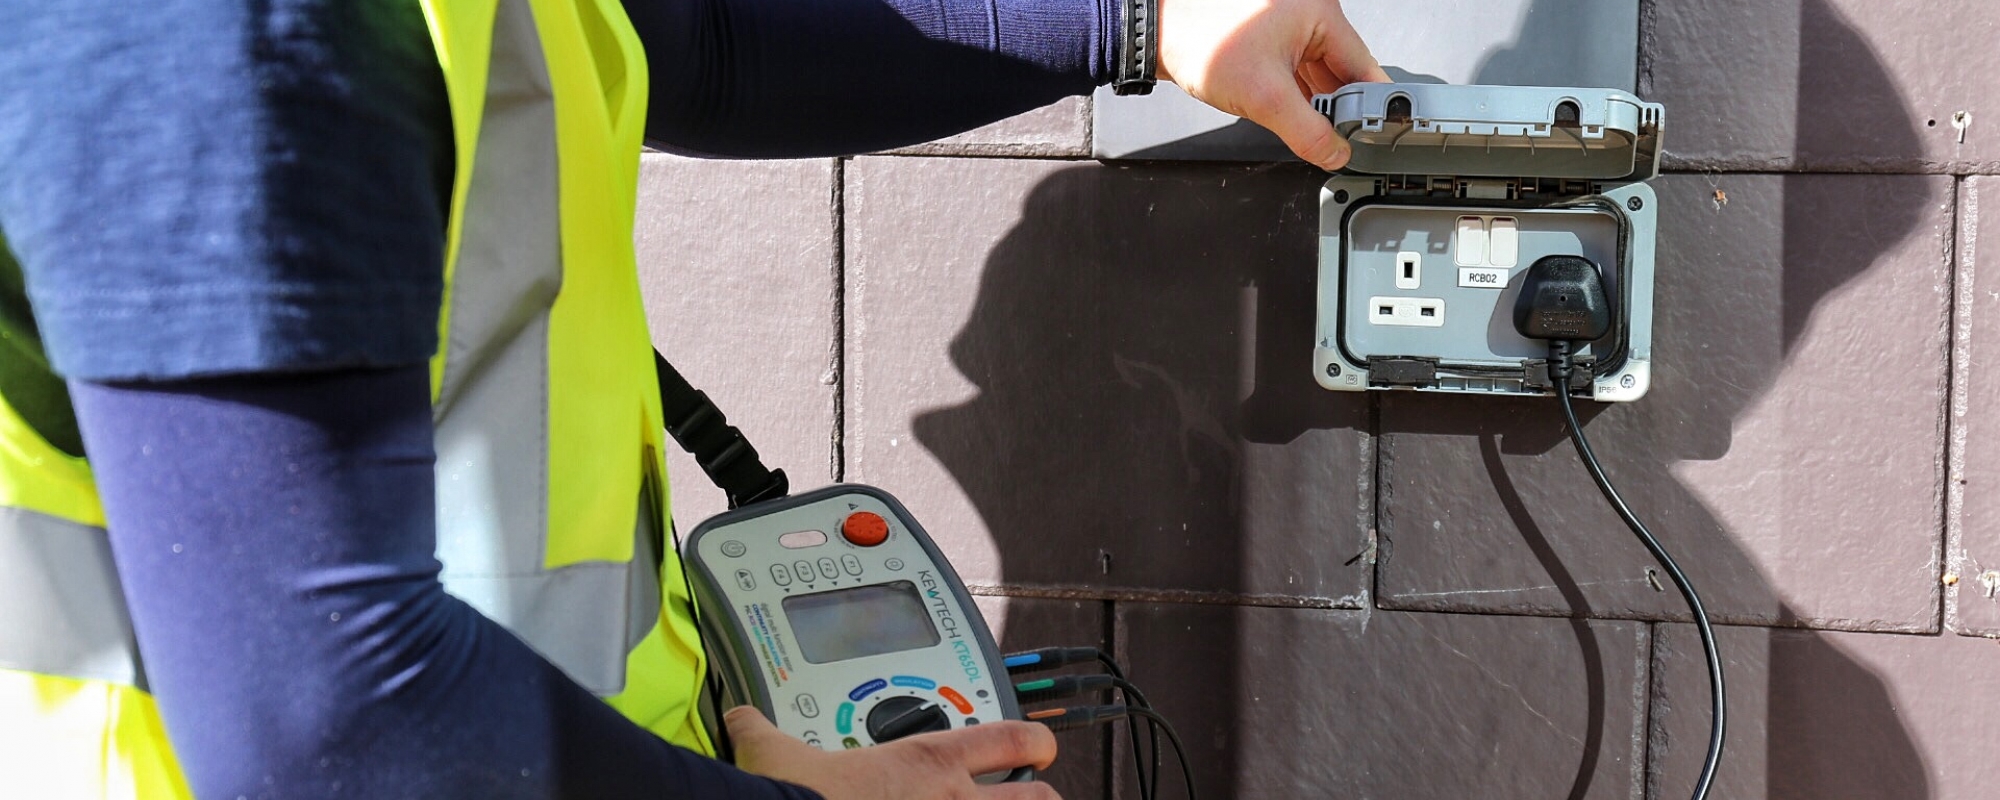
Testing: The initial test of your charger is critical. Plugin your vehicle and monitor the charging process. Look for any warning lights or malfunction indications on your charger or vehicle.
Final Inspection: Many regions require an electrical inspection following the installation of a home EV charger. Check with your local regulations and schedule an inspection if needed.
"The installation isn't deemed fully successful until your newly-installed charging device has passed both these checks," says Luke Barker, a tech journalist and EV enthusiast at AutoPundits.
Maintaining Your EV Charger
With successful installation, the bulk of your journey to home charging is complete, but you're not quite finished yet! It's essential to keep your charger in tip-top shape through regular maintenance.
Basics of Charger Maintenance:
- Cleanliness: Dust and dirt can impede your charger's performance. Keep it clean using a soft, dry cloth.
- Regular Inspections: Inspect your charger for wear and tear, particularly in the cords and connections.
- Professional Check-ups: Consider having an electrician periodically examine your charger just like you might have your car serviced.
Your EV's Best Friend
In essence, a well-maintained home charging system ensures that your EV remains your reliable companion when you hanker for a drive. Be it a quick run for groceries or an impromptu road trip, your performance-driven electric vehicle will be ever ready.
Take the plunge into the enthralling sphere of at-home EV charger installation. As the rise of electric vehicles continues unabated, this insightful guide can empower you with the independence of charging your EV from the comfort of your home. So, plug in and power up!
What's Your Reaction?


